Etekcity ZAP 1L-S, ZAP 1L-Rx, ZAP 1L-Tx - ZAP Remote Outlet Manual
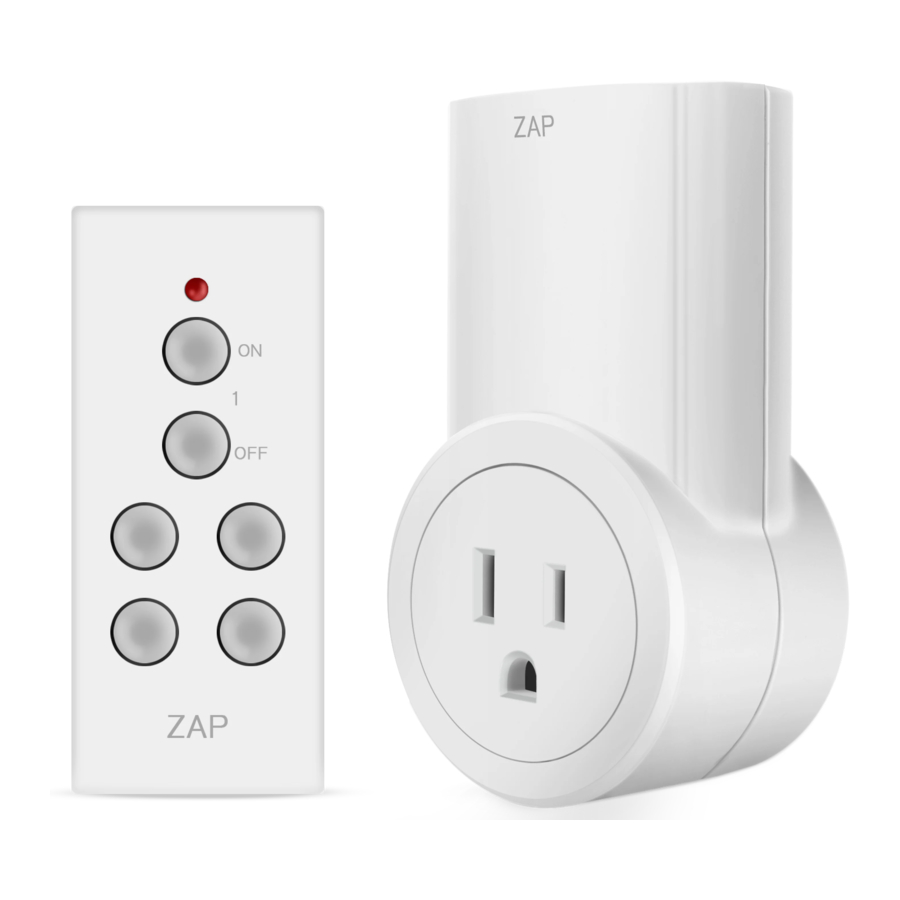
The outlets are pre-programmed for immediate use, but the configuration can be customized to meet your needs.
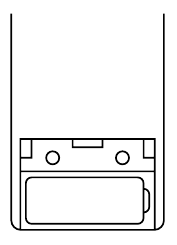
- Install one 12V (23A) battery in each remote control.
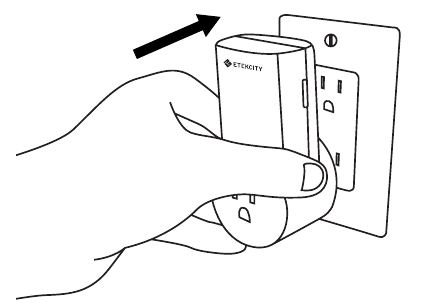
- Plug each outlet into a powered socket.
- Plug an appliance into each outl et. Make sure the appliance is switched to ON in order to allow the outlet to control the device.
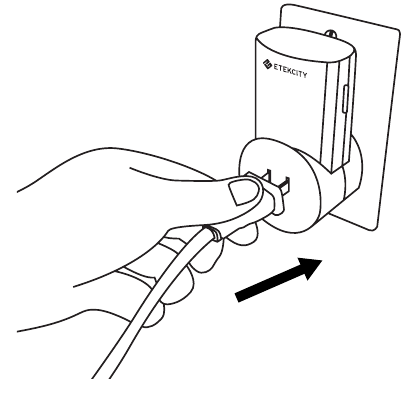
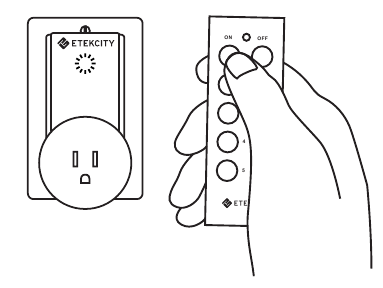
- Press the ON or OFF buttons for the corresponding outlet number on the remote. The indicator light on the corresponding outlet will turn on or turn off, confirming that the outlet is now in use.
Reprogramming an Outlet
- Unplug device from outlet.
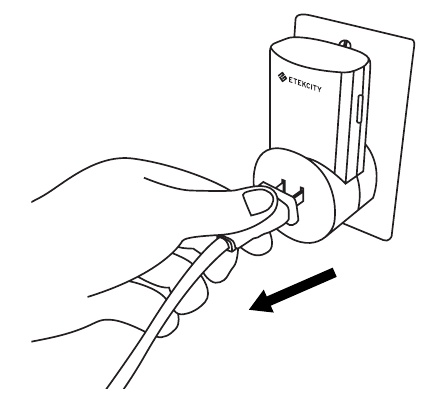
- Press and hold program button until indicator light starts to blink.
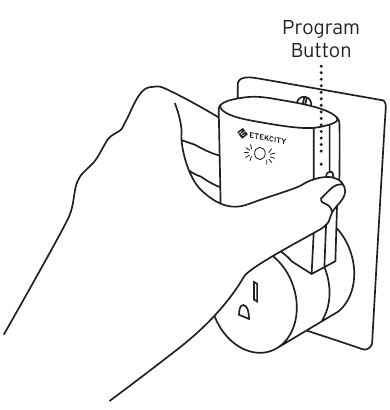
- Release program button, press the ON or OFF button for the desired number on the remote.
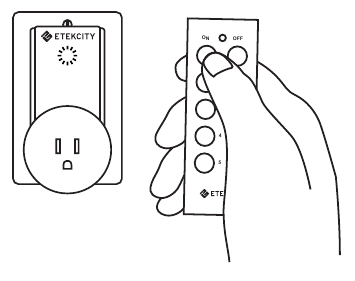
- Pairing is successful when indicator light stops blinking.
NOTE: You may repeat the reprogramming steps to assign up to 10 outlets to a single number to simultaneously control multiple devices with a single click.
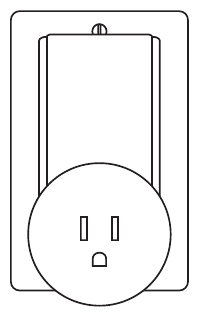
Resetting an Outlet
To remove an outlet from all remote control pairings:
- Unplug any devices connected to the remote outlet.
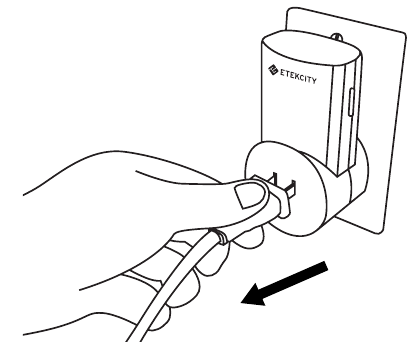
- Remove the outlet from the power socket.
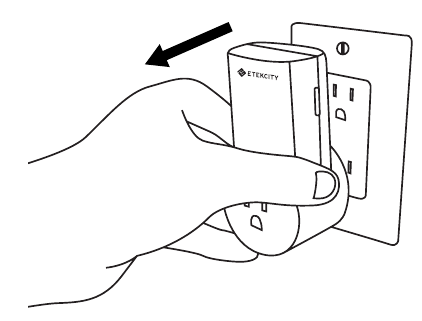
- Press and hold the program button.
- Plug outlet back into power socket while continuing to hold program button.
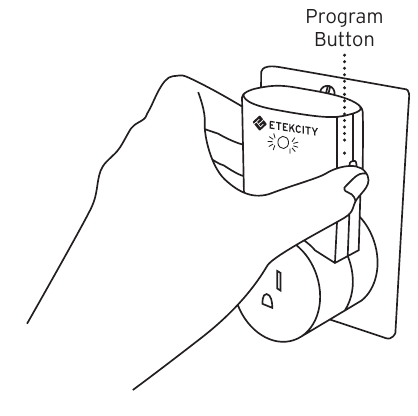
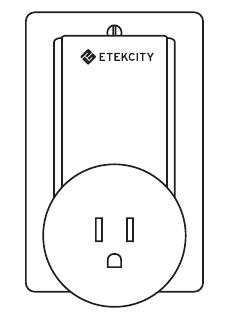
- Hold program button for approximately 5 seconds until LED indicator begins to flash.
- Program reset will be complete when indicator light stops blinking.
